Monday, November 22, 2010

Ballet and Cake?! Perfect.

This one time, my best friend Tayler turned 19! And I baked her a cake. And brought it to ballet... and we had a surprise birthday for her!

But Annie, how DID you keep the cake nice and refrigerated whilst you were dancing? How you ask?? I live in Canada, eh! The great OUTDOORS is my refrigerator!

So for Tay's birthday I decided I would go for the tried and true ultimate girl indulgence. Chocolate... and ALOT of it. I started with three 8" by 2" rounds (which judging by this picture I could turn into a Micky Mouse cake.... inspiration??) of a very moist chocolate cake made with lots of sour cream and high quality cocoa powder.


First mix the cocoa with boiling water....


Make sure there are no lumps.


Don't freak out... the sour cream doesn't make the cake sour. It just makes it more dense and moist.


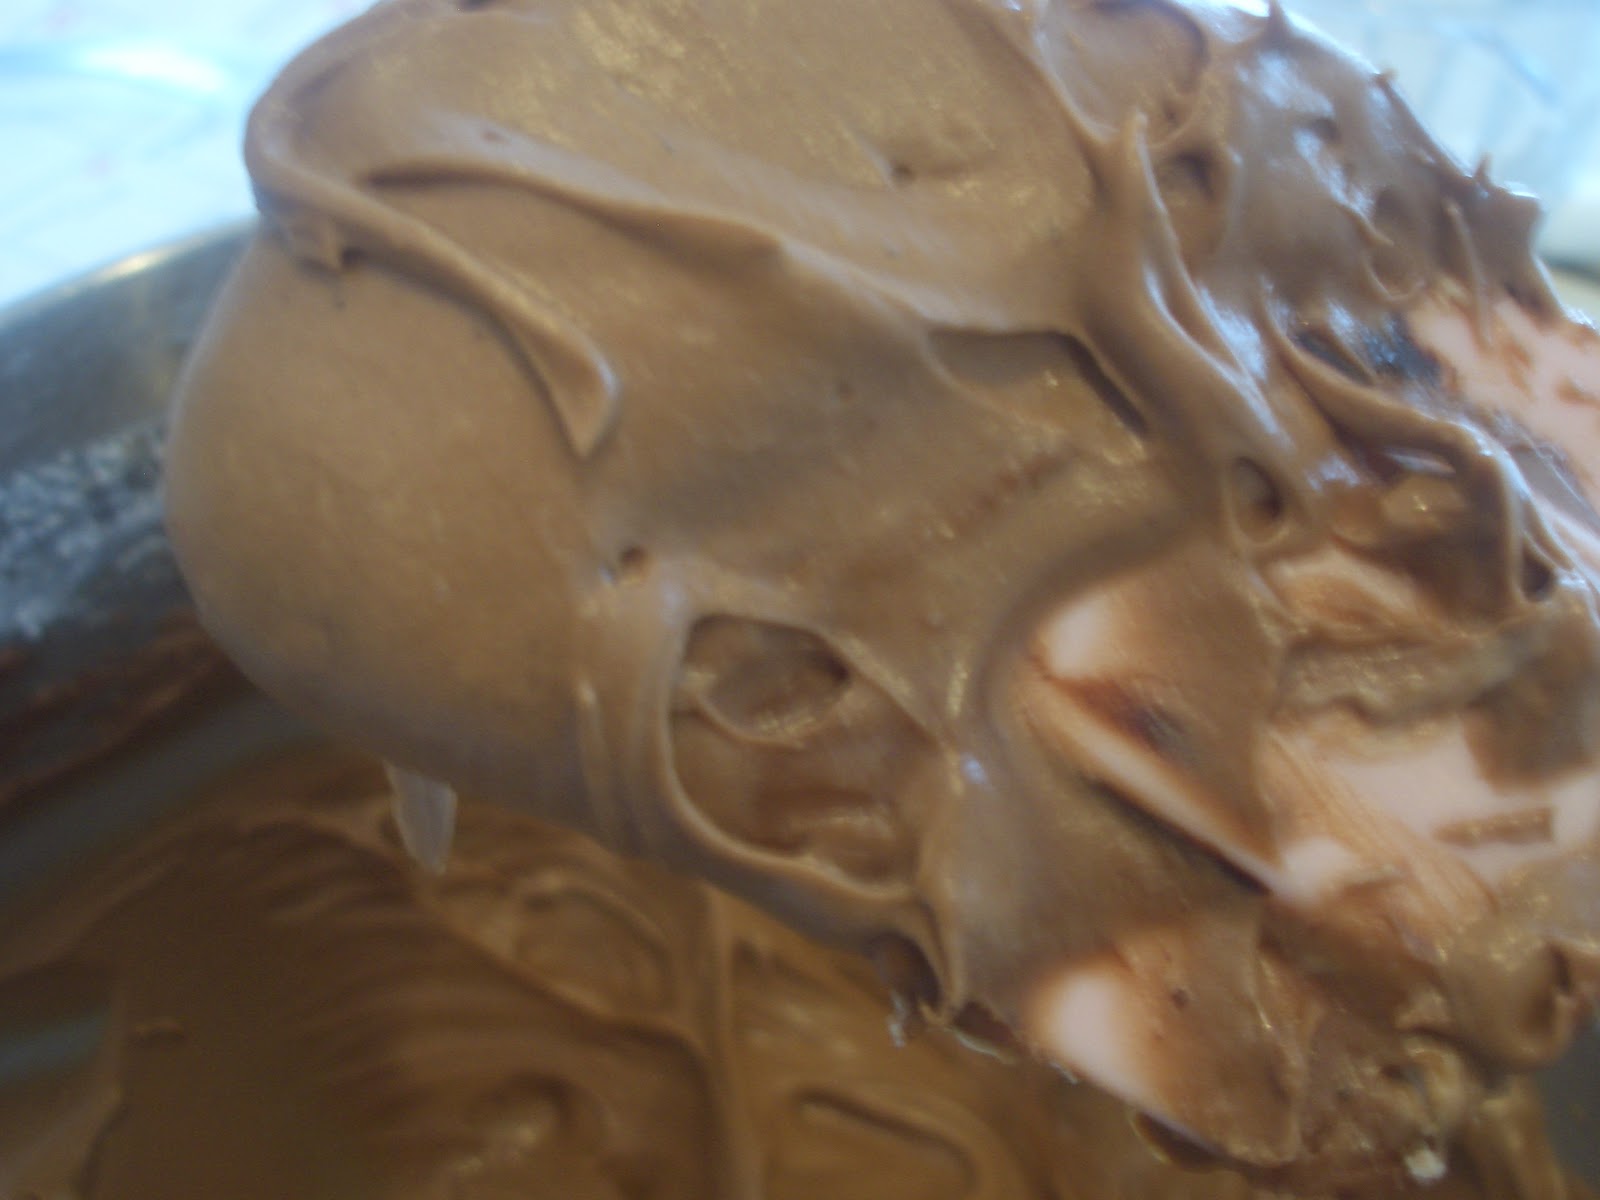
Then I did the most evil thing I could have possibly done.... Chocolate Cream Cheese Icing. That's right people..... CCCI. WHAMMY. You make this with Unsweetened Chocolate... which is a force to be reckoned with. I myself am a HUGE dark chocolate fan. I took a bite of this stuff once.. expecting something along the lines of bittersweet.... Well I got the bitter... but no sweet. This chocolate is SPECIFICALLY for baking. It is NOT for straight eating... even for a chocolate connoisseur such as myself.


Deadly.

You melt it and throw it into your cream cheese butter vanilla mixture... then add a TON of icing sugar. Whip it up, being sure to scrape the sides and the bottom as to make sure the chocolate is evenly distributed. You should end up with a thick, yet fluffy icing with a velvety smoov (say it out loud if you are confused) texture.


Cute little tip for presentation... lay a few strips of foil down on the serving plate as to not smear icing all over it and turn it into a huge mess. Woo.


You can prep the cake right on the portable caddy if you utilize the tin foil trickery. Magical. Slap the first layer down, ice it, then the next layer.


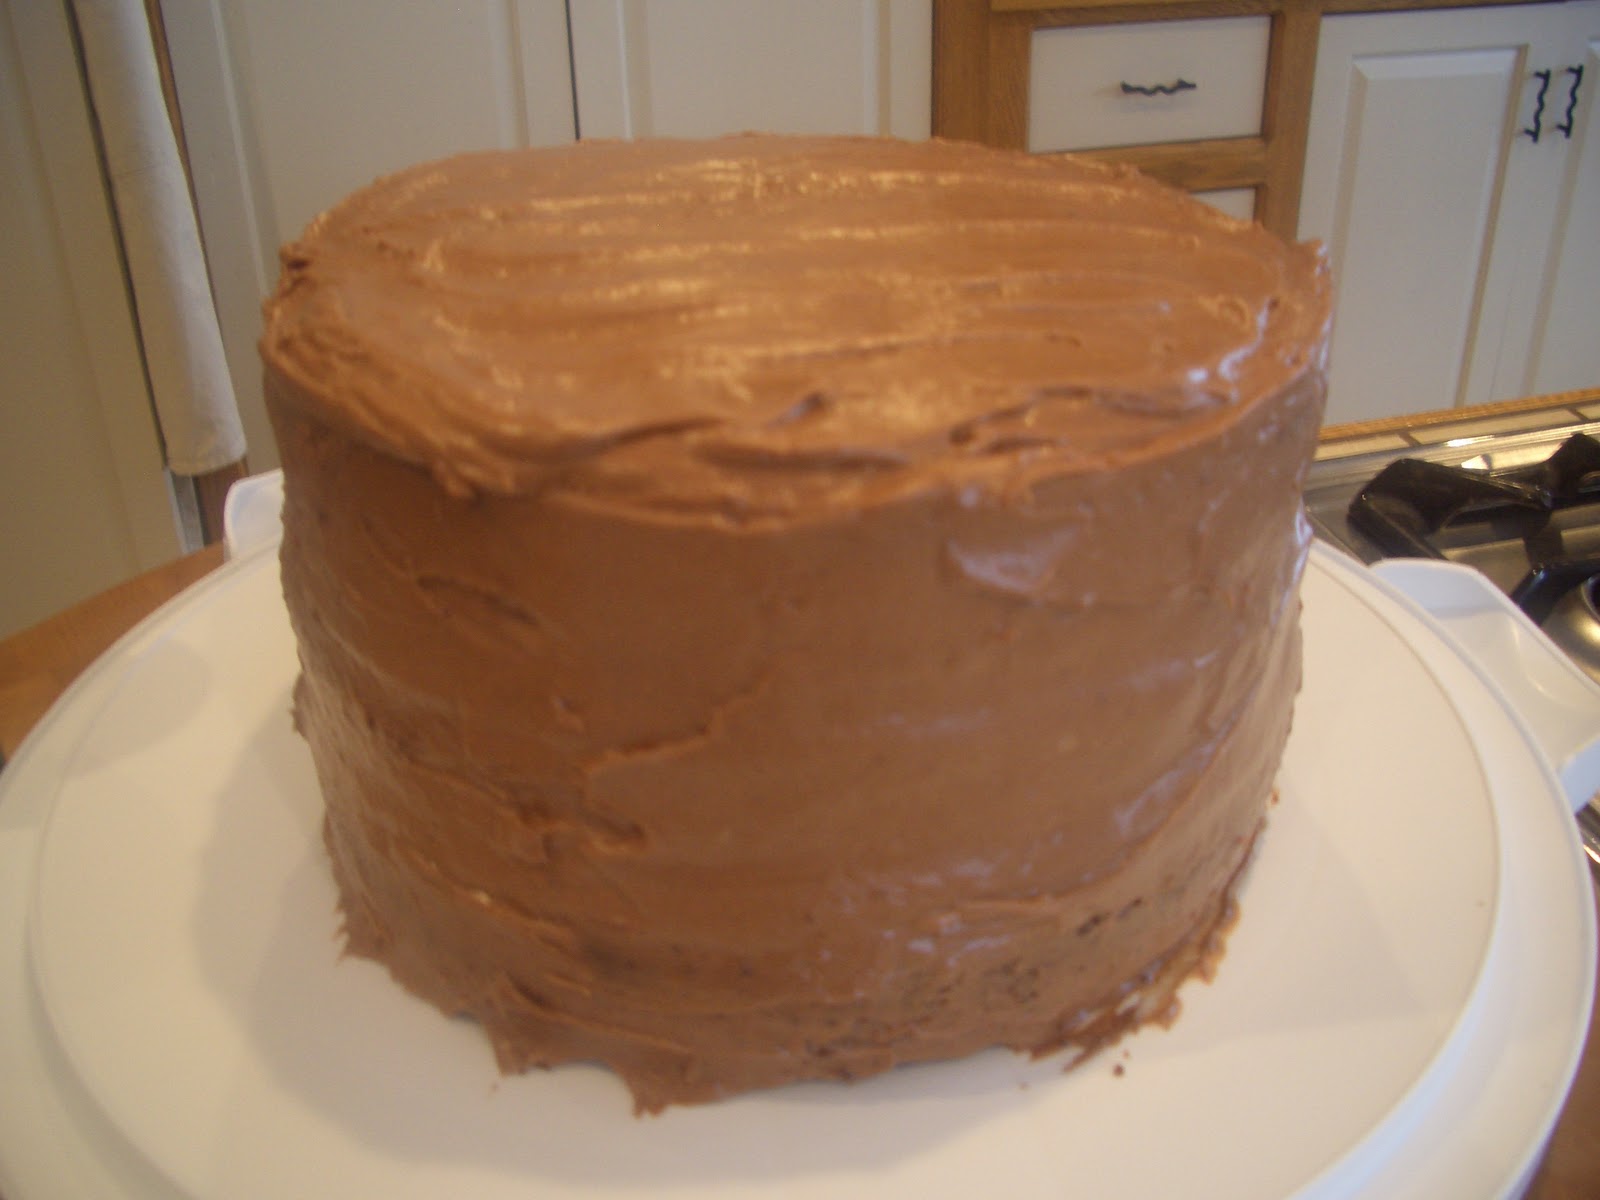
Rinse and repeat until all your layers are stacked... in my case, tres. Ice the sides with the frosting oozing out the sides in a thin layer called the crumb coat, then refrigerate for about an hour to let it set. Then use the rest of your icing to make a smoov (say it out loud again.. in case you forgot.) and creamy coating.


Beautiful.

So.... we threw it in the car and drove out to ballet. Cake? Check. Candles? Check. Matches? Check. Bowls and spoons? Check. Around Welling we realize..... eff. We forgot a knife. So of all people... we text the Birthday Girl herself. Bring a Knife. Don't ask, just bring it. And she did. And was none the wiser. What a dear.

So cute.
Love this girl!!
Oh gosh. Tay has a knife. 

She was so excited! It was precious. And definitely was a ton of fun. The girls loved the cake. Big thanks to Miss Melissa who let me organize this little partay for everyone... hopefully the extra icing I brought you compensated for the half hour we spent having cake.


And HAPPY BIRTHDAY to Miss Tayler!! We love you lots and here's to many more!!


Monday, November 8, 2010

OooOoooOO.....OOOooOOOOoooo...

Too little too late?.... I know.

So.... crap. I really wanted to get this blog in before October ended... but certain circumstances took priority and... well here we are on November the 8th. Miniature fail by me.

As I pondered what to make for a Halloween-y goodie, it became apparent to me that most things we consume on Halloween are either store bought (chocolate bars, candy corn) or don't look that cute unless they are mixed with a variety of treats (like a display of cookies AND bars AND candy apples). And yes, I probably should have buckled down and made eleventeen types of dessert... but sheesh there are only so many hours in a day and at the present time I have but one oven and four burners.

I WAS going to make this great 32 layer cake with dark chocolate glaze and candied hazelnut spears.... but I woke up that day with Baker's Block. Couldn't bring myself to do it. So.... I opted for making 32 petit fours. In the shape of ghosts. I know, I know. Don't judge.

So. Petit fours. It's cake, downsized into beautiful little cubes you can pop like... poppable things? Chicken... grapes... bubble gum? Up my alley much? Most petit fours are covered in fondant or a colored candy coating.... They are very intimidating. Go on, google them... AFTER you finish reading this of course.

For my first experiment with these cakelets I figured imperfections in ghosts would give personality and artistic flair.... at least that's what I'm banking on.

The best cake for petit fours is a dense sponge or sheet cake. The recipe called for a 12 x 17 x 1 pan...

(rummages through baking sheets) where the HELL am I gunna get a.... Oh. I found one! Killer.

Grease it flour it parchment it grease it again flour it again. Irritating.

You would think sheet cake would be super simple... and it is, but you do have to be super careful to get a proper texture. No overmixing, no overincorporating... or your hooped.
Martha says... "That is NOT an exact measurement!!!" I FIXED IT MARTHA I SWEAR!!


Pour the sugar in a CONTINUOUS stream... I can almost hear Martha in my head... "Now you want a steady flow of sugar in your-.. I said steady. STEADY."


To complete my nightmare of ruining the batter, I have to fold in egg whites. I'm always deathly afraid I'm folding improperly or I am overmixing.


First thing with egg whites is to separate them from the yolks... Obviously. They look rather impressive in a bowl.

See? Impressive.

Afterward, take a handy dandy hand mixer and beat the crap out of them until they go white. I have had the unfortunate experience of mistaking this for whipped cream once... trust me, egg white out of a spoon even less pleasant than it sounds.


The recipe called for a soft beat, so basically beat them till they make peaks, but then collapse. No stiff peaks. Are we starting to see how picky they are getting?? Flip.


They should look something like this.
The batter, as per normal, was delicious. Into the oven it goes.


It came out like this, so I must not have screwed it up that bad.


Next was to cut out little round cakes. I didn't have a round metal cookie cutter, so I substituted with the best I had. A plastic, scalloped edge cutter. Joy. This complicated things, and most likely affected my presentation negatively. I'll add basic cookie cutters to my shopping list.

First one! A little lopsided... maybe you always screw up the first one? Or is that pancakes.. or children?

Looking good!

There was ALOT of cake scraps, so I took it upon myself to be my own personal garberator... garborator... garbarator...... okay I give how do you spell garb.... garbage disposal. There we go. What I mean is... I pretty much mowed down on cake the whole time. And listened to Friends in the background. The one where Ross teaches Rachel and Phoebe about Unagi.

The recipe called for a thick sugar icing... but I said screw it I'm busting out the Philly. Everything is better with cream cheese icing. So I piped little ghosty heads (which in retrospect could have been ALOT taller)....


.... and then covered them with a powdered sugar and butter glaze.


Afterwards, semisweet baker's chocolate made little faces.
Before....

After!

They're so cute I might die.


I took the opportunity to get some of them out of the house by giving them away with most delicious peanut butter rice krispies. For all those who don't know... peanut butter rice krispies are one of the very few cheap desserts I will eat. And not just eat... dominate.


 I had to make them all face eachother or the chocolate would get smeared on the cellophane. It also kind of makes them look like they are huddling together. How cute, yet morbid. Perfect for Halloween?

Aww... they are scared :(

This is how they looked all done.

They were definitely delicious, definitely addicting, definitely make them again. With more icing. Mmmmm. They weren't that difficult either... just be precise with your measurements and don't overmix. And have a proper cookie cutter on hand.

Happy (belated) Halloween my sweet readers!

Sunday, October 24, 2010

In Soviet Russia...

Cupcakes bake YOU!....

This may or may not be true. But in any case, I'm actually talking about Germany. Specifically, their contribution to the baking world in the form of chocolate. In cake. With chocolate. Am I confusing you? Alright, I'll just say it. German Chocolate Cake.

I have done cakes for the past few weeks because frankly, I like full cakes better than cupcakes. As cute as cupcakes are, there aren't many desserts much more elegant than a beautiful slice of layer cake. How-some-ever, I figured I would throw a bit of variety in here. And thus, I arrived at the conclusion I should bake German Chocolate Cupcakes. Thanks Martha, you're a doll.

I also figured they would be a little more handy for the party we were having at my Grandma's that night. My lovely Aunt Gail came down for a visit, and that enough is an excuse to have a bash. In pajamas. Watching a movie. With copious amounts of good food and diet pepsi. Oh dang.
Cupcakes and Chips and Pepsi, OH MY.

So off I went. As I began, I noticed the recipe required 5 oz of semisweet chocolate. Well lucky me, I had a little bit of Callebaut left in the.... *HORRIFIED GASP* MELISSA!! STOP EATING IT! Snatched it away, and found I had 6, count em, 6 oz. So I appeased her with the leftover oz and went on my merry way.


Presto Chango, Chocolate Batter!


I was a little concerned because the batter only called for 3/4 cup of butter. That doesn't seem like a lot to me... and it seemed like a lot less in the 10 cup Kitchenaid. Frick. Thankfully it made up for it in the filling. It was super rich thanks to BUTTER, egg yolks and brown sugar. Oh and some coconut and pecans. Roight roight.

Truthfully, there was a little skepticism when I noticed the lack of cream cheese in this filling. I considered saying screw it and making chocolate cream cheese and coconut pecan frosting..... but then I figured that they are probably delicious as they are, and I needed to learn to try the recipe before I decide it needs to be changed.

So I scoured for a big pot, and mixed the egg yolks, brown sugar and evaporated milk. As it was thickening, I realized I should probably start toasting my pecans. Threw those on the burner and then my timer for my cupcakes went off. I pulled those out, stabbed em to test done-ness, only to realize my brown sugar milk filling was boiling. So, with a pan of cupcakes in one hand I found a whisk and attempted to save it before it burned. As soon as I managed to get it under control I was reminded of my pecans toasting. Having had a bad experience with overly toasty nuts, I didn't have time to put down my cupcakes before I started rotating those. Then it basically turned into this limbo with me, the cupcakes, the filling, and the nuts. I'm a good multitasker and was doing fine until the doorbell rang. Stress overload.

I'm really not sure WHAT is wrong with my muffin tins. Maybe all of my baking pans are old and the Teflon is coming off. Whatever it is... I grease and flour the CRAP out of them. And it never seems to help very much. It's not my fault. Hrmph.

Martha's recipe used Cake and Pastry Flour in lieu of all purpose. Randomly, I had some on hand (yes, I'm just that intense. I also conveniently had the aforementioned evaporated milk... which I needed for the filling. WHAMMY.) I usually am not a fan of Cake Flour. It's pretty much the same, except it is ground finer and is therefore supposed to make lighter, fluffier cakes. I find that it DOES make them lighter, but the extra air pockety-ness makes them awfully prone to breaking and/or crushing. All purpose still gives you a wonderful texture, but it gives the cake a little more backbone and holds its shape better. In this sense, the cake flour is better for single layer cakes or cupcakes. I stick to all purpose for layering.

Toasty toasty nuts.

Also. For those wishing to break free of the cake mix... There is a simple formula for pretty much EVERY cake. And it goes a little something like this:
1. Cream butter and sugar until WHITE and fluffy.
2. Add eggs, one at a time, mixing until incorporated.
3. Whisk dry ingredients, and add them in 3 additions, alternating with your liquid (eg, milk or buttermilk)

Another important thing to note is not to overbeat your batter. While it may look the same right now... overbeating tends to make your cakes form steep peaks in the center when baked.


It's an illusion!! They all look perfect, when they really, really weren't anywhere close. 


So I bet you're thinking.... Oh so she'll just frost the top and they will be so cute! Right??

Wrong. So wrong. This is Cakerella you're messing with. No way we are only doing one layer of filling.


You halvsies them up horizontally....


....and spread some filling in the MIDDLE first.


Then replace the top and spread a little more over the cap.


A simple, beautiful twist on a classic.


These were not time consuming at all. Very few ingredients, very easy. In fact the thing that took the most time was buttering and flouring the pans!...... (No, I don't want to talk about that.) I would just use cupcake papers... but it seems a waste if I'm taking them off right away.


I have been wondering about those silicone baking cups..... although I've heard it's hard to remove the cupcake afterward. But I guess it can't be harder than having to run a knife around ever single one. And I wouldn't even have to grease them!... Perhaps something to consider.

Anyway. The cupcakes were delicious, the party was so much fun! Thanks to my mom, Aunt Gail, Grandma, Melissa, and Laura for making it such a great time. I hope we do it again soon!.... Only downside... I woke up this morning and felt like I got hit by a bus. A salt bus. You ladies all know what I'm talking about. Happy Baking, Here's the recipe:

Martha Stewart's German Chocolate Cupcakes

Makes 24 cupcakes 


• 3/4 cup (1 1/2 sticks) unsalted butter, room temperature, plus more for tins
• 2 cups cake flour (not self-rising), sifted, plus more for tins
• 1 teaspoon baking soda
• 3/4 teaspoon salt
• 1 1/3 cups sugar
• 3 large eggs, room temperature
• 1 1/2 teaspoons pure vanilla extract
• 1 cup buttermilk
• 5 ounces semisweet chocolate, melted and cooled   

Directions
1. Preheat oven to 350 degrees. Brush standard muffin tins with butter; dust with cake flour, tapping out excess. Whisk together cake flour, baking soda, and salt.
2. With an electric mixer on medium-high speed, cream butter and sugar until pale and fluffy. Add eggs, one at a time, beating until each is incorporated, scraping down sides of bowl as needed. Beat in vanilla. Reduce speed to low. Add flour mixture in three batches, alternating with two additions of buttermilk, and beating until combined after each. Beat in chocolate until combined.
3. Divide batter evenly among prepared cups, filling each three-quarters full. Bake, rotating tins halfway through, until a cake tester inserted in centers comes out clean, 20 minutes. Transfer tins to wire racks to cool 10 minutes. Run a small offset spatula or knife around the edges to loosen; turn out cupcakes onto racks and let cool completely. Cupcakes can be stored up to 3 days at room temperature in airtight containers.
4. To finish, use a serrated knife (and a gentle sawing motion) to split cupcakes in half horizontally. Spread a heaping tablespoon of frosting on top of each bottom half; replace top halves. Spread more frosting on top of each cupcake. Serve immediately.
Makes enough for one 9-inch 3-layer cake.... (or a batch of cupcakes)
• 3 large egg yolks
• 1 can (12 ounces) evaporated milk
• 1 1/4 cups packed light-brown sugar
• 1 1/2 sticks (12 tablespoons) unsalted butter, cut into small pieces and brought to room temperature
• 1 teaspoon pure vanilla extract
• 1/4 teaspoon salt
• 2 2/3 cups (7 ounces) sweetened flaked coconut
• 1 1/2 cups (6 ounces) pecans, toasted and coarsely chopped

Directions
1. Combine egg yolks, evaporated milk, and brown sugar in a saucepan. Add butter, and cook over medium heat, stirring constantly, until thick, about 10 minutes. Pour through a fine sieve into a bowl.
2. Stir in vanilla, salt, coconut, and pecans. Let cool completely. Frosting can be refrigerated in an airtight container for up to 1 day; bring to room temperature before using.